What and whys
Connecting live IoT data to Epic’s Unreal Engine allows anyone to create next level visualisations to their IoT service. Unreal Engine may not be the obvious choise when creating end-user services and applications, but sure it is fun and can result amazing gamification experience for IoT.
So what if, next time you need to create a cool sales demo for some marketing event, you could use the latest & greatest AR/VR, pixel shaping and color bleeding technologies – instead of those all-around React, Android or Swift applications for a dashboard that everyone has seen already? Why not?
What you need?
Data integration
We will be using WebSocket to feed data to Unreal Engine. Therefore you need a websocket server that is able to receive Thingsee Data stream.
- e.g. NodeJS websocket server (or anyother websocket)
- Thingsee Cloud integration so that the data is forwarded to the websocket server (or you can do your own data-forwarding if you already have the data incoming to your other cloud system.) Note that the data format must be Thingsee Message JSON Array.
- Use some websocket client to verify that the data is incoming to the websocket server
Unreal Engine
- Unreal Engine 4.25
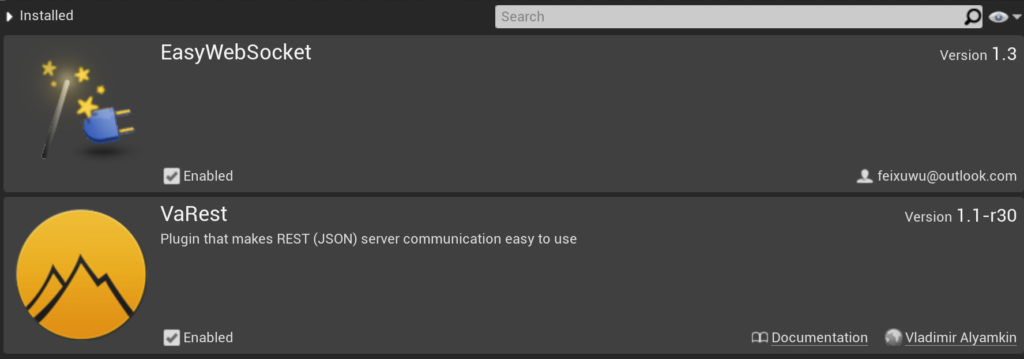
- EasyWebsocket plugin. This is paid plugin, but totally worth it.
- VARest plugin for handling JSON data
Thingsee Blueprints
Installation and use
- Install Unreal Engine and the following plugins to your project
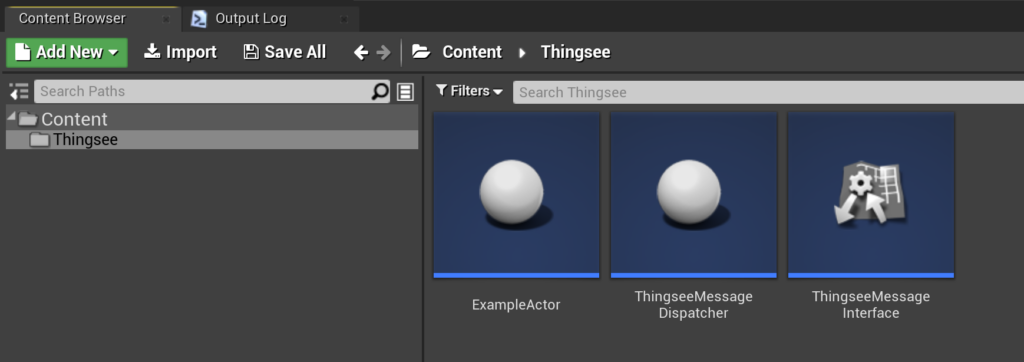
- Import Thingsee Blueprints to your project
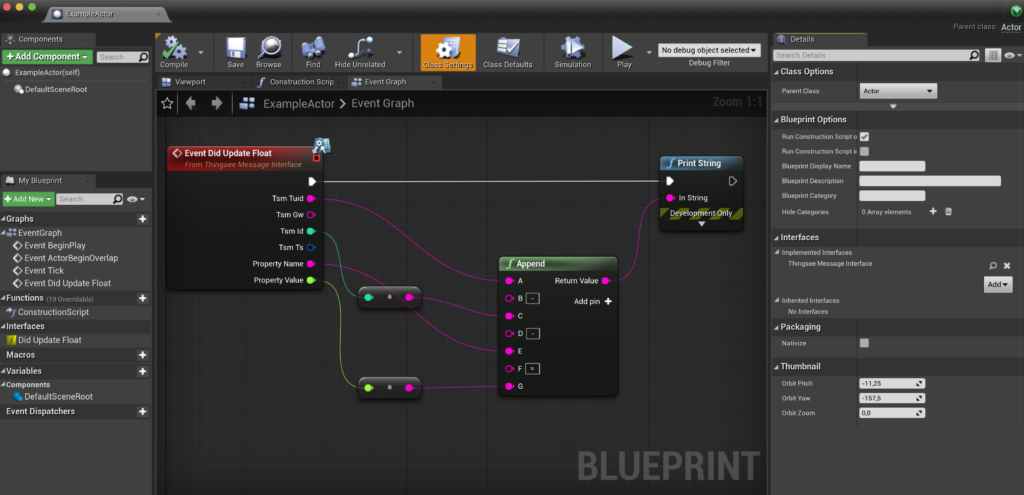
- Create a new actor that implements ThingseeMessageInterface
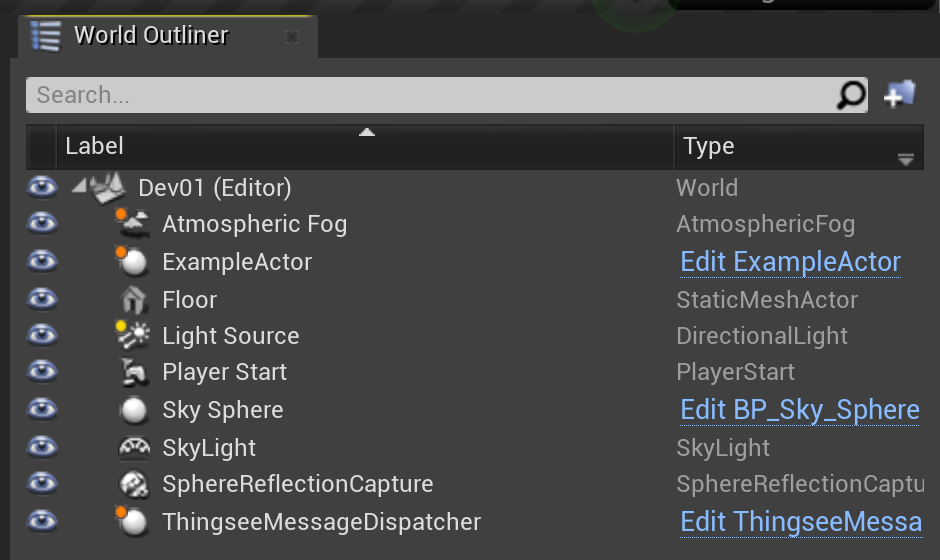
- Add ThingseeMessageDispatcher to your level (and the ExampleActor/your actor)
- In your level blueprint register the actor to the dispatcher, and connect dispatcher to websocket server
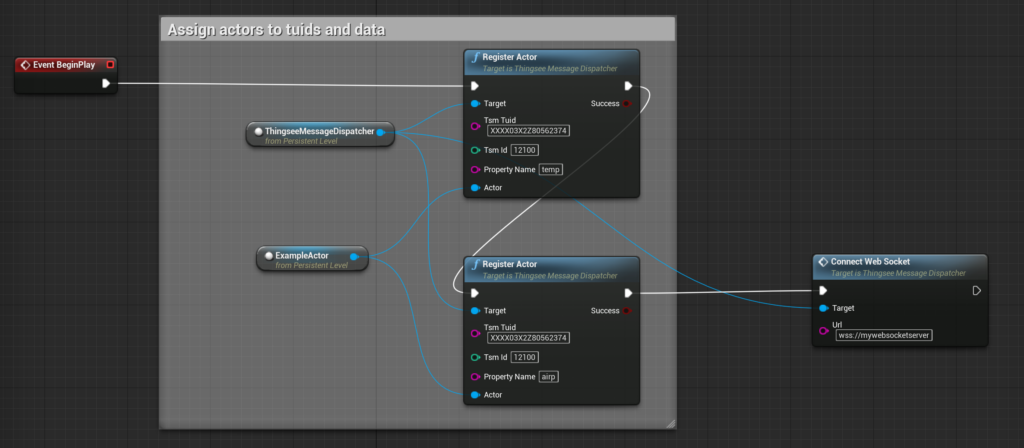
- Play the level and verify that your actor receives the data from the registered tsmTuid, tsmId and propertyName.

How to use Thingsee blueprints
Register actor
When registering your actor to the ThingseeMessageDispatcher you must assign following properties
- TsmTuid is the identifier of the Thingsee device
- TsmId is the message identifier the actor
- PropertyName is the string name of the property
Your actor will then get informed whenever the value of above combination changes. The same actor can register multiple different combinations, but a single combination can be assigned only to one actor.
Handle incoming data
At the moment the only function that get fired when receiving data is DidUpdateFloat(). This function will carry following variables.
- TsmTuid the identifier of the (sensor) device
- TsmGw the identifier of the gateway
- TsmId the identifier of the message
- TsmTs the date and time when the message was received by ThingseeMessageDispatcher So the timestamp is not the actual timestamp of the measurement.
- PropertyName tells the changed parameter. e.g. "temp", "humd", "airp", "dist", …
- PropertyValue is the new value
Known issues
- ThingseeMessageDispatcher registers the actors using tsmTuid+tsmId+propertyName concatenated string. Therefore you can have only one actor per such combination.
- At the moment there is no authentication to websocket, so use only in non-production, development-only environments
- Creating 3D IoT visualization can be addicting. Be aware of your working hours!
Future
- Production grade integration (auth etc) so that you can actually do something more serious than just cool demos
- Possible direct integration to Thingsee Open Services API (using VARest) and/or Thingsee Data Stream (MQTT)
- Maybe, just maybe, integrate to Thingsee Play Firebase cloud using EasyFirebase plugin (you can find it in Unreal Marketplace)