Download PDF
Using Thingsee AIR sensor
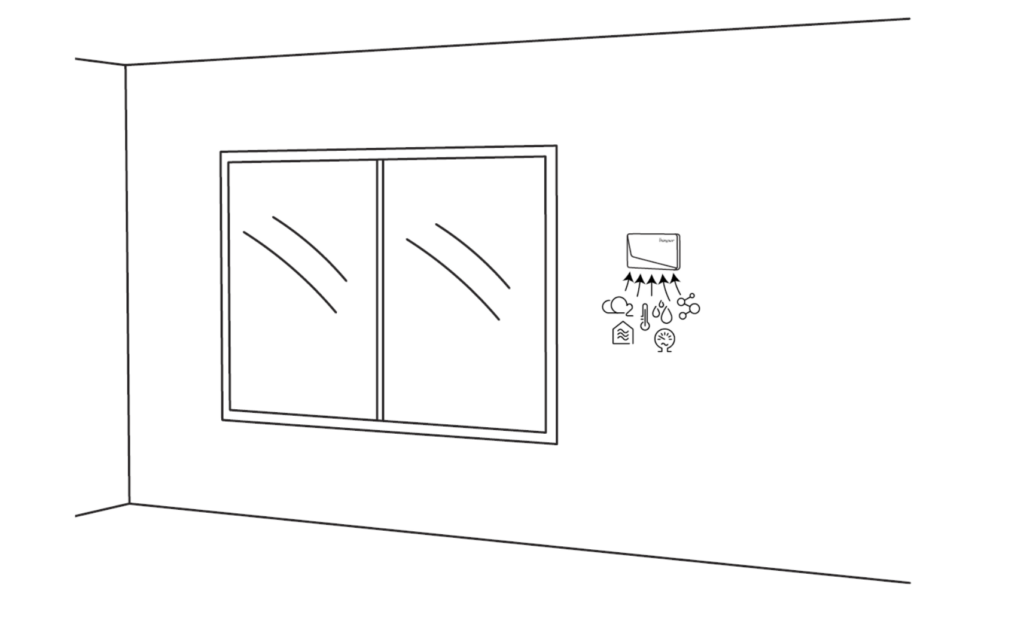
Thingsee AIR detects carbon dioxide (CO₂), total volatility of organic compounds (TVOC), temperature, humidity and barometric pressure. The product is installed on the wall in the space where air quality is measured.
Thingsee AIR is a perfect tool to measure indoor air quality (IAQ) in buildings and structures, especially as it relates to the health and comfort of the building’s occupants. The sensor ensures real-time air quality data for, e.g. adequate ventilation in the premises.
General Installation Instructions
The sensor is for indoor use only.
The environment humidity should be <85 % RH at all time.
The usage temperature range is +5 ºC to +50 ºC, non-condensing environments only.
Please note that the correct TVOC and CO₂ data are available only after the sensor device has conducted baseline calibration for the environment.
- TVOC sensor conducts baseline calibration for the TVOC levels and valid data is available after 48h of continuous use.
- The CO2 baseline optimization is always on and updated in 8 day periods. The baseline adjustment happens in steps toward the preconfigured 410ppm CO2 level.
Note: Thingsee AIR requires ‘free of people’ moments in the space, when the indoor air is fully changed, to set the correct 410 ppm baseline. This is why places such as schools and offices are good places to use the sensor, as the baseline can be set during the night when the CO2 level is the lowest.
Note before installation
Please make sure the Thingsee GATEWAY is installed before you install the sensor.
To ensure strong enough signal strength for data communication, keep the maximum distance between installed sensors under 20 m.
If the distance between a measuring sensor and the gateway is > 20 m or if the sensors are separated by a fire door or other thick building materials, use extra sensors as routers to ensure adequate signal strength.
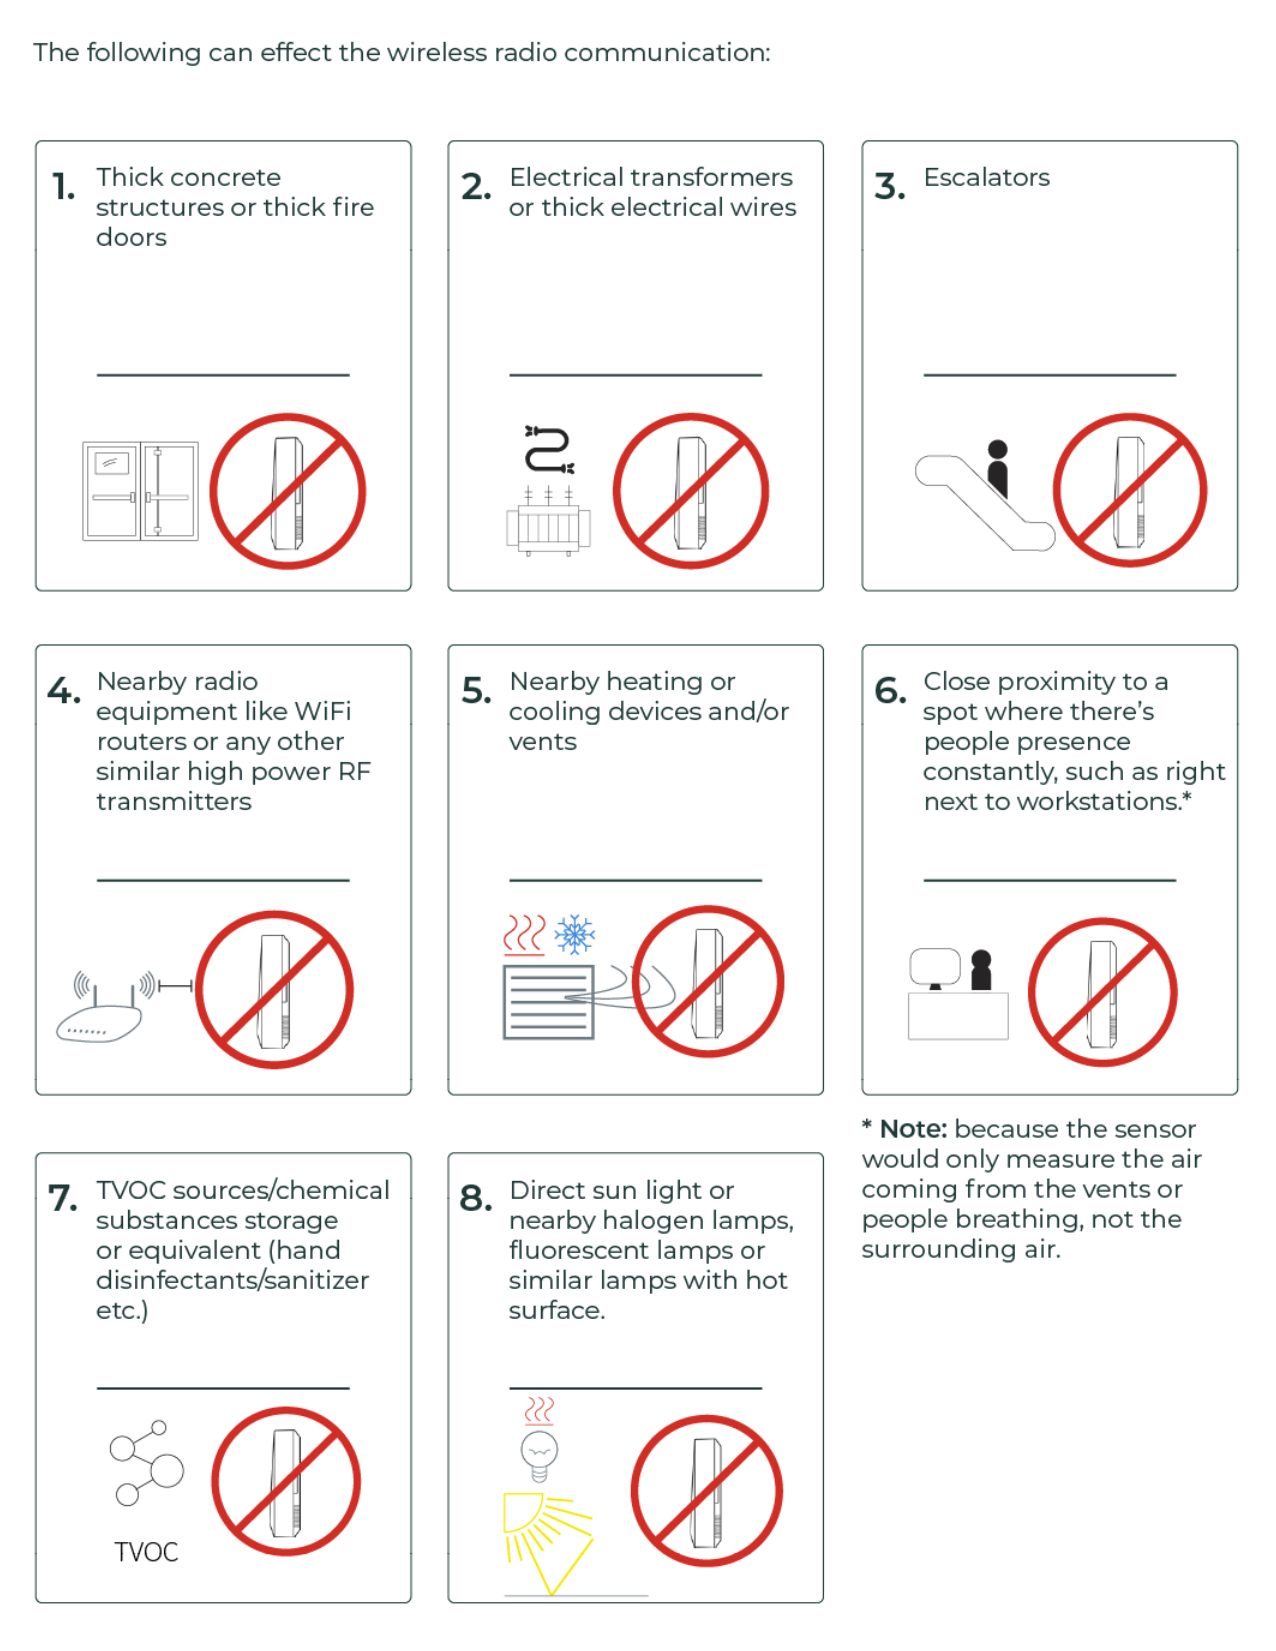
Things to avoid in installation
Choosing the installation spot
Here are some example cases on where to install Thingsee AIR.
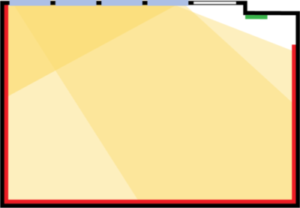
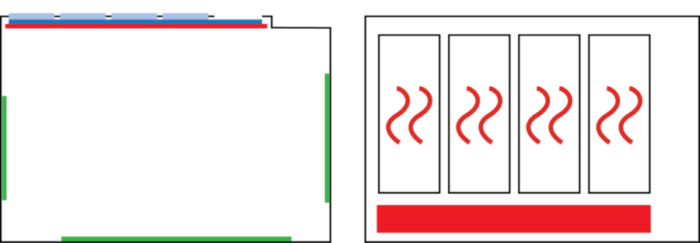
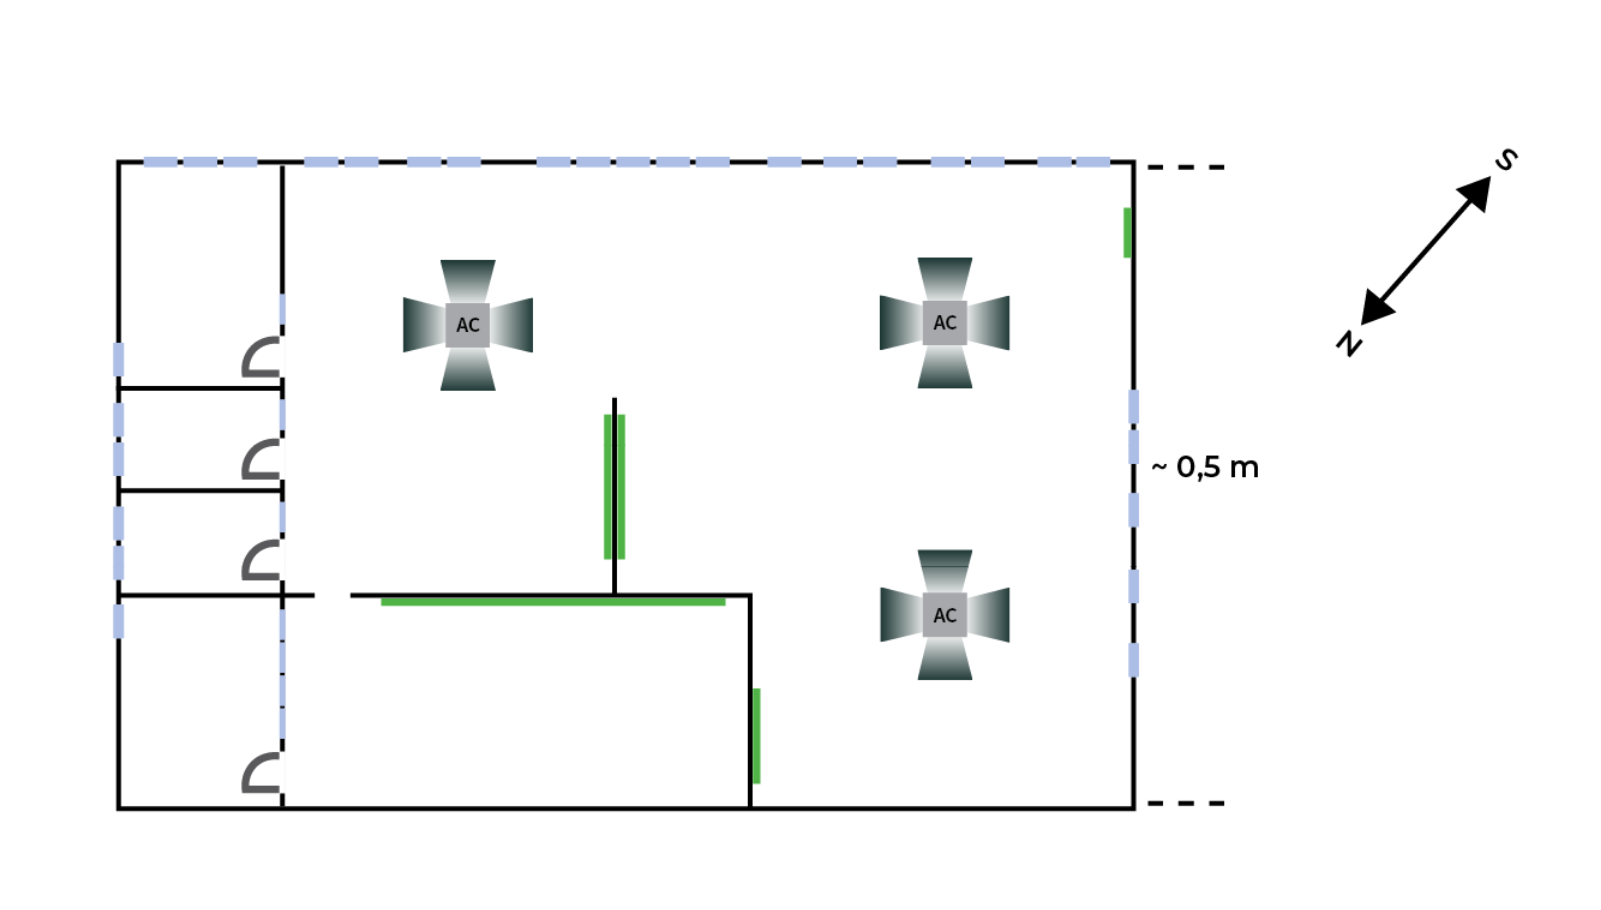
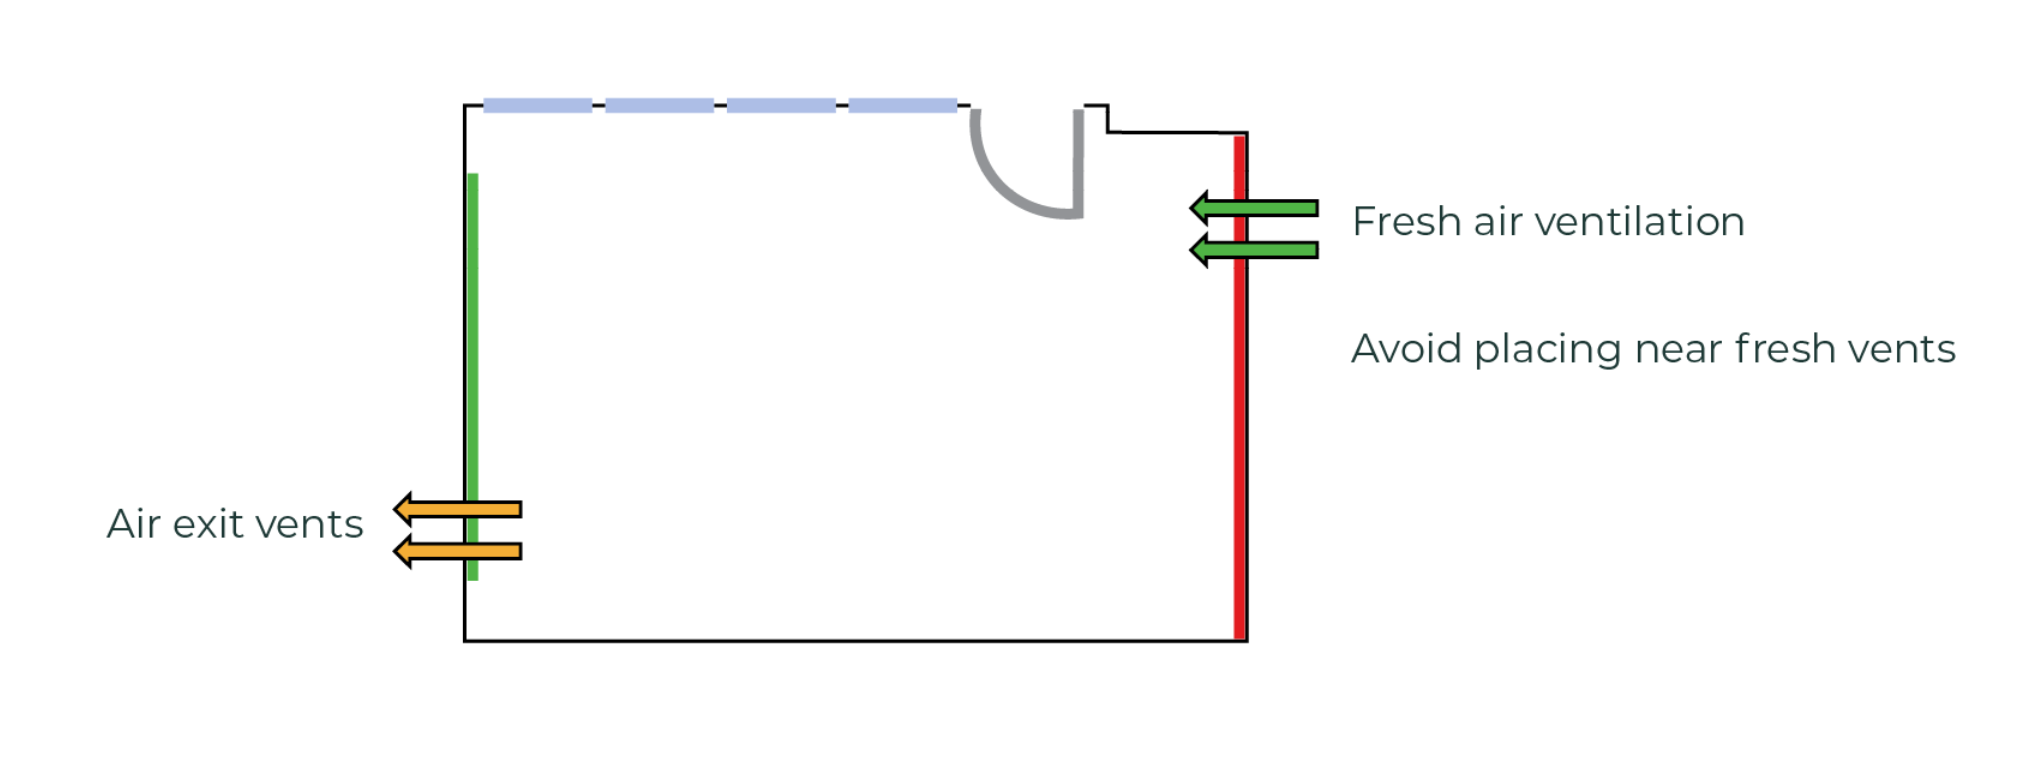
The green lines are the recommended installation spots and the red ones is where to avoid the installation of the sensor.
If there is an air conditioner (cooling) in the room

Avoid corners
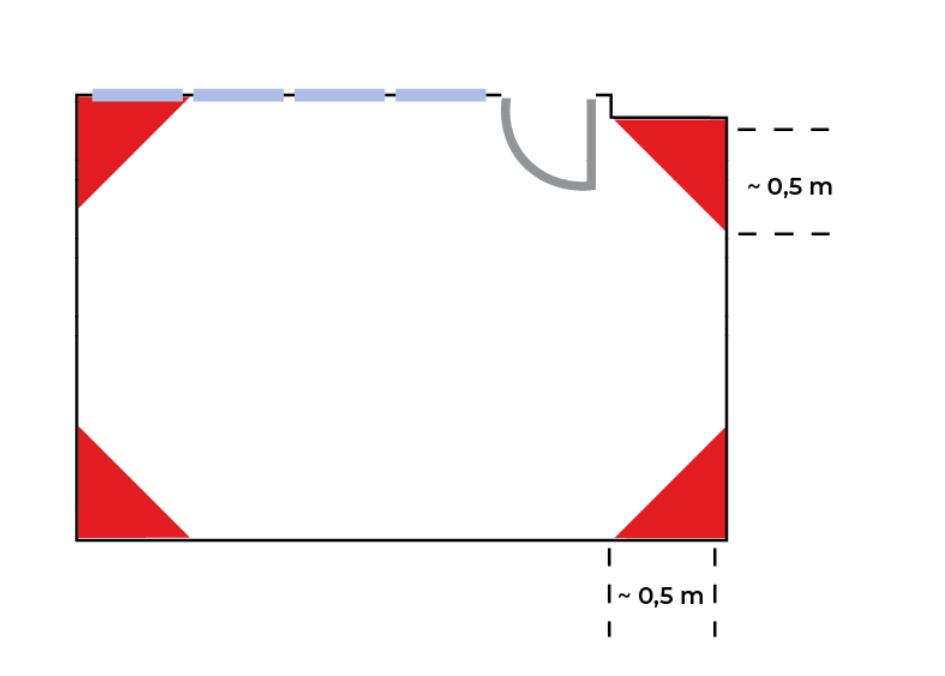
Sun effect - large windows
Heating radiator
Large, open space offices
Air ventilation, generally
Installation
Before installing the sensors, make sure the Thingsee gateway device is installed and connected to a mobile network (LED blinking green).
To identify the sensor, read the QR code on the side of the A-cover with a QR code reader or Thingsee Toolbox application on your mobile device.
Identifying the device is not necessary, but it will help you keep track of your IoT installation and help Haltian support to solve possible issues.
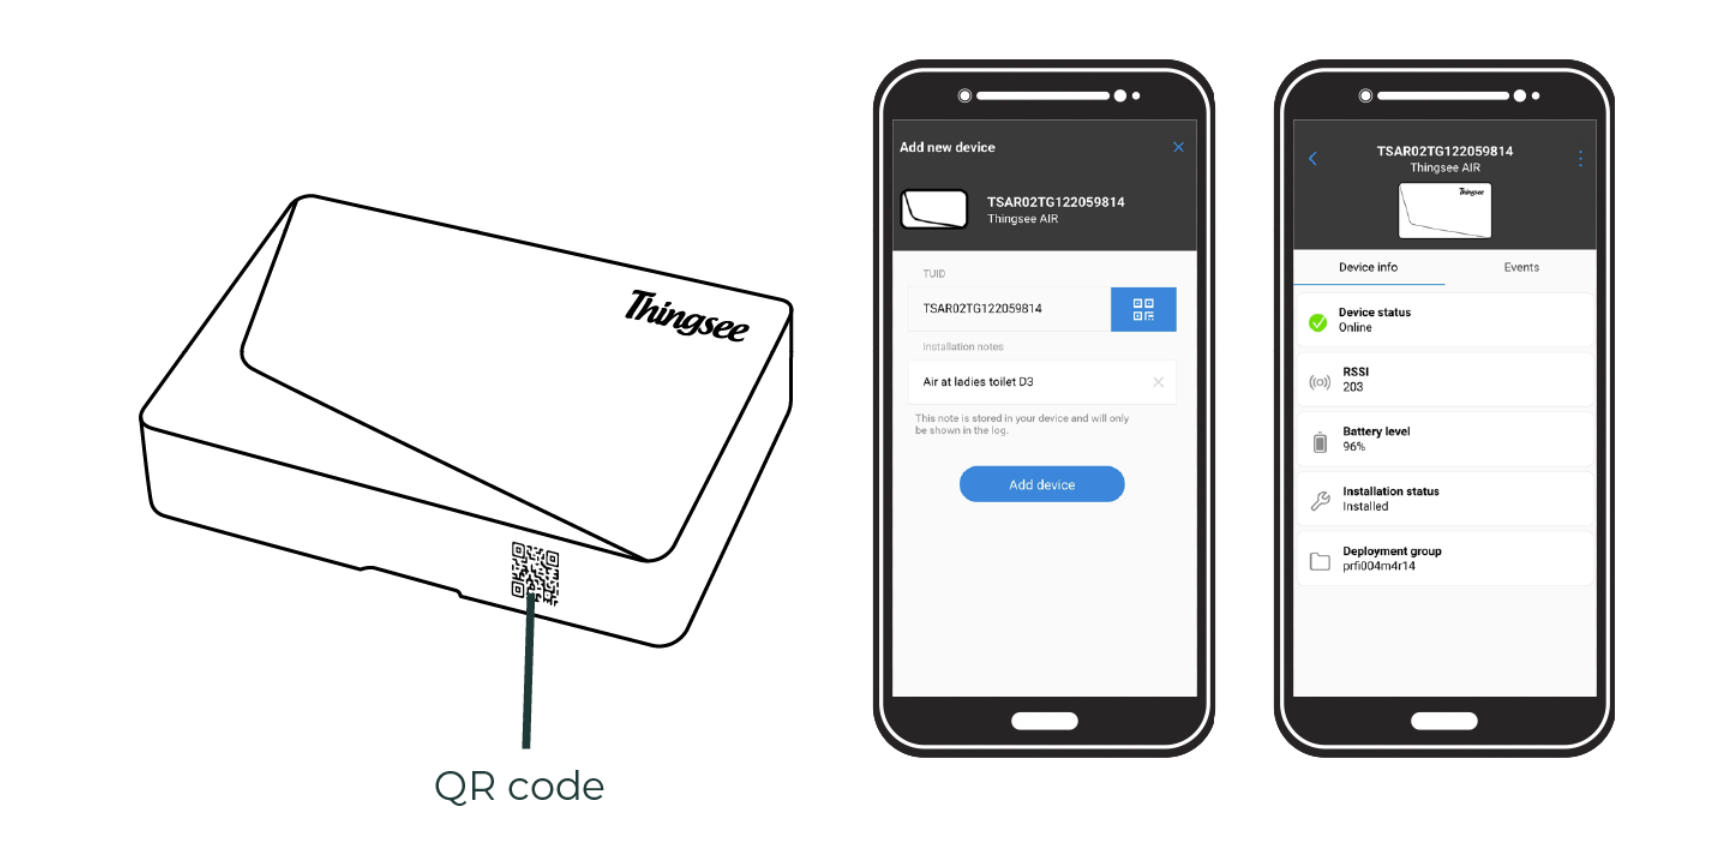
Open the box and follow the instructions of this user and installation guide. Take the product from the box and open it with the opening key.
Select a place where to install Thingsee AIR (see ‘Things to avoid in the installation’ before). The recommended height on the wall is between 1,4 m – 1,8 m.
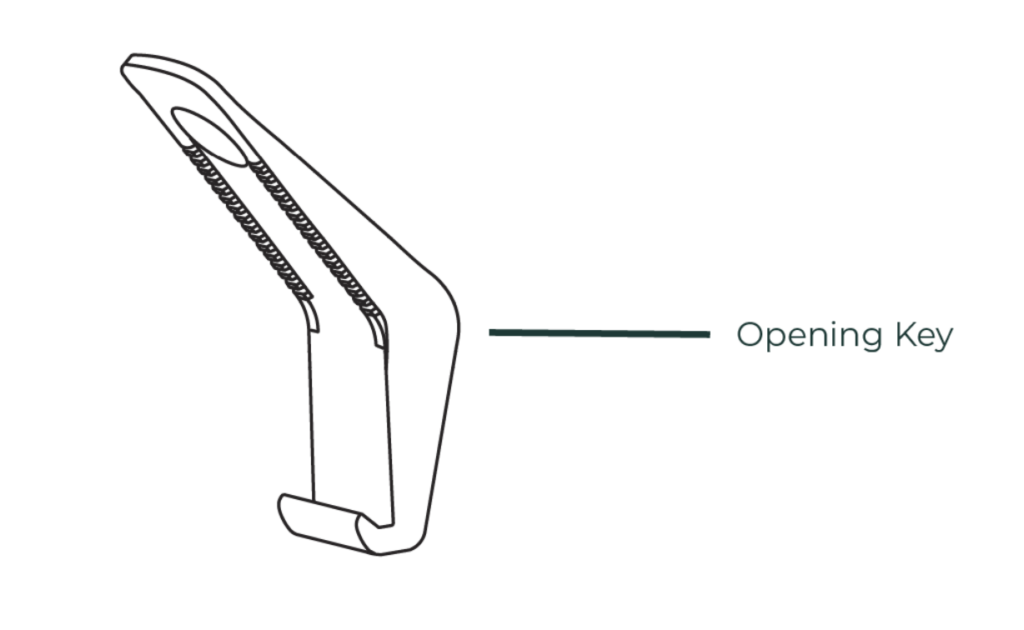
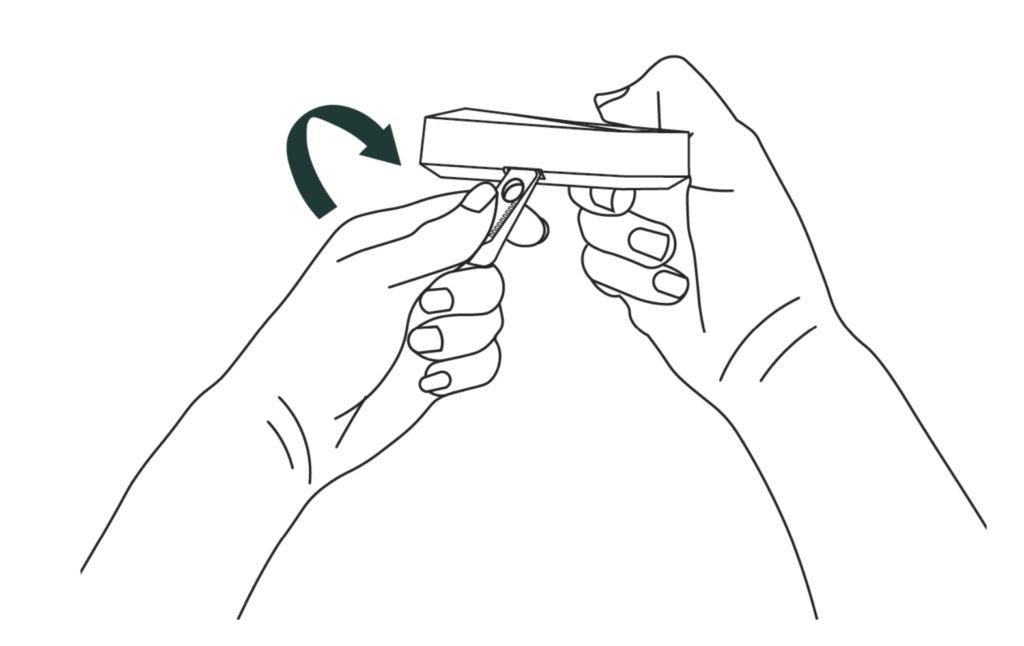
When holding the sensor in hand: Place the opening key in the hole on the side of the sensor and twist to open.
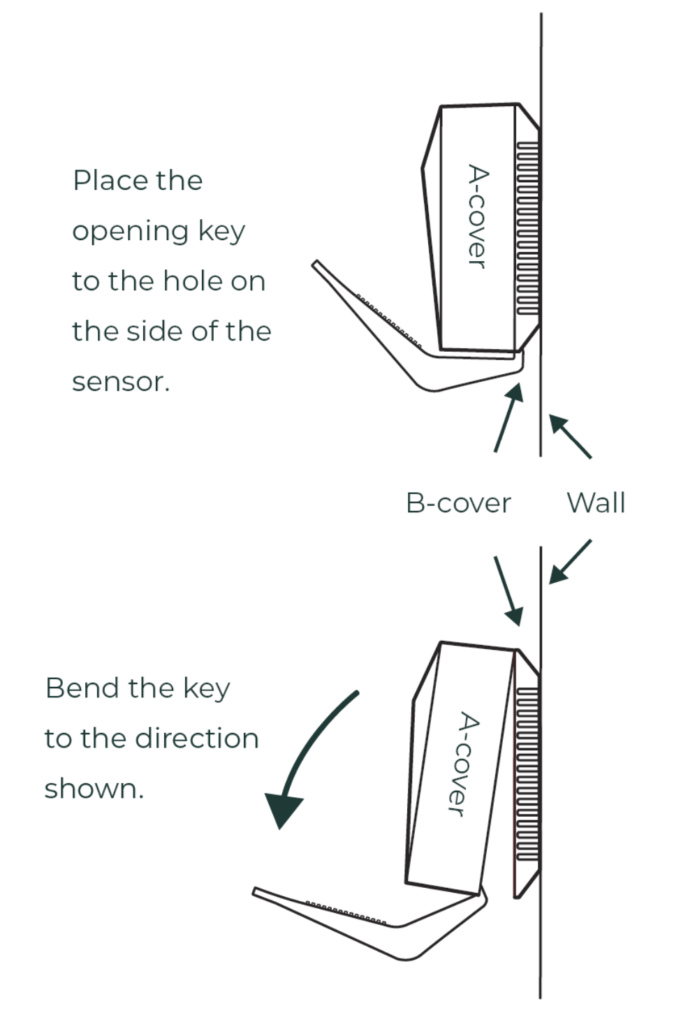
When the sensor is on the installed surface:
Place the batteries inside the A-cover.
If you change the batteries, Haltian recommends using Varta Industrial Pro 1.5 V AA LR06 alkaline batteries.

Attach the A-cover to the B-cover attached to the wall. (Make sure the Thingsee logo is the right way).
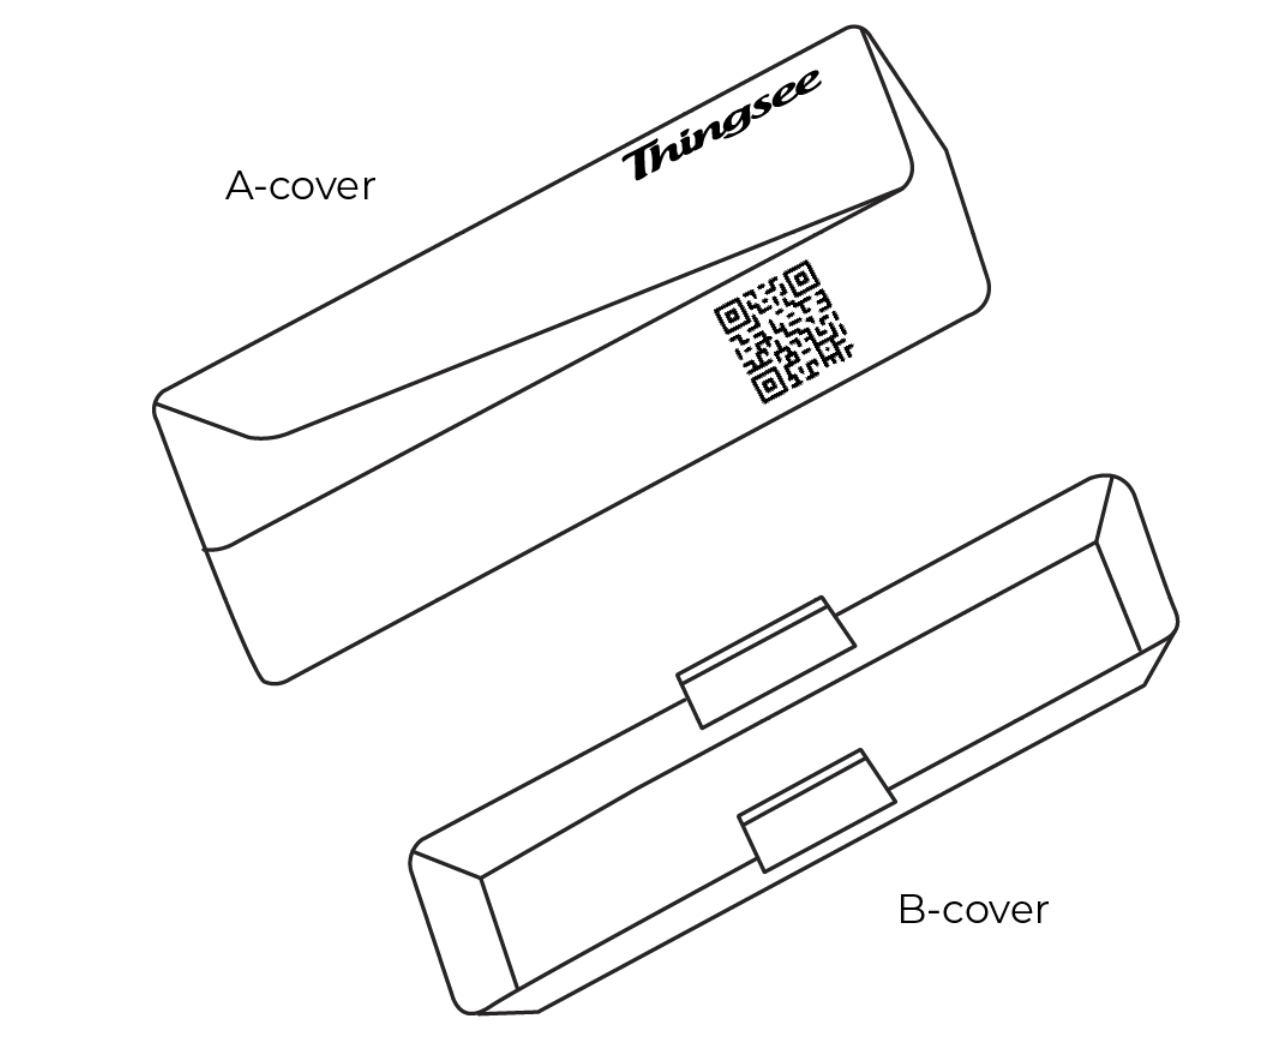
Note: Make sure the sensor is installed max. 20 meters from the next sensor or gateway. This is to ensure full coverage mesh network between the sensors and the gateway.
Installation method 1
Installing Thingsee AIR with tapes
When installing Thingsee AIR using tapes, use a smooth surface for better adherence.
Clean the surface you will attach the sensor to with IPA -solvent (isopropyl alcohol).
Make sure that the surface of the device is clean.
The marks in the back of the sensor work as guidelines for where to place the tapes. Apply the tapes in the device and press for a minimum of 5 seconds and then remove the tapes’ paper cover.
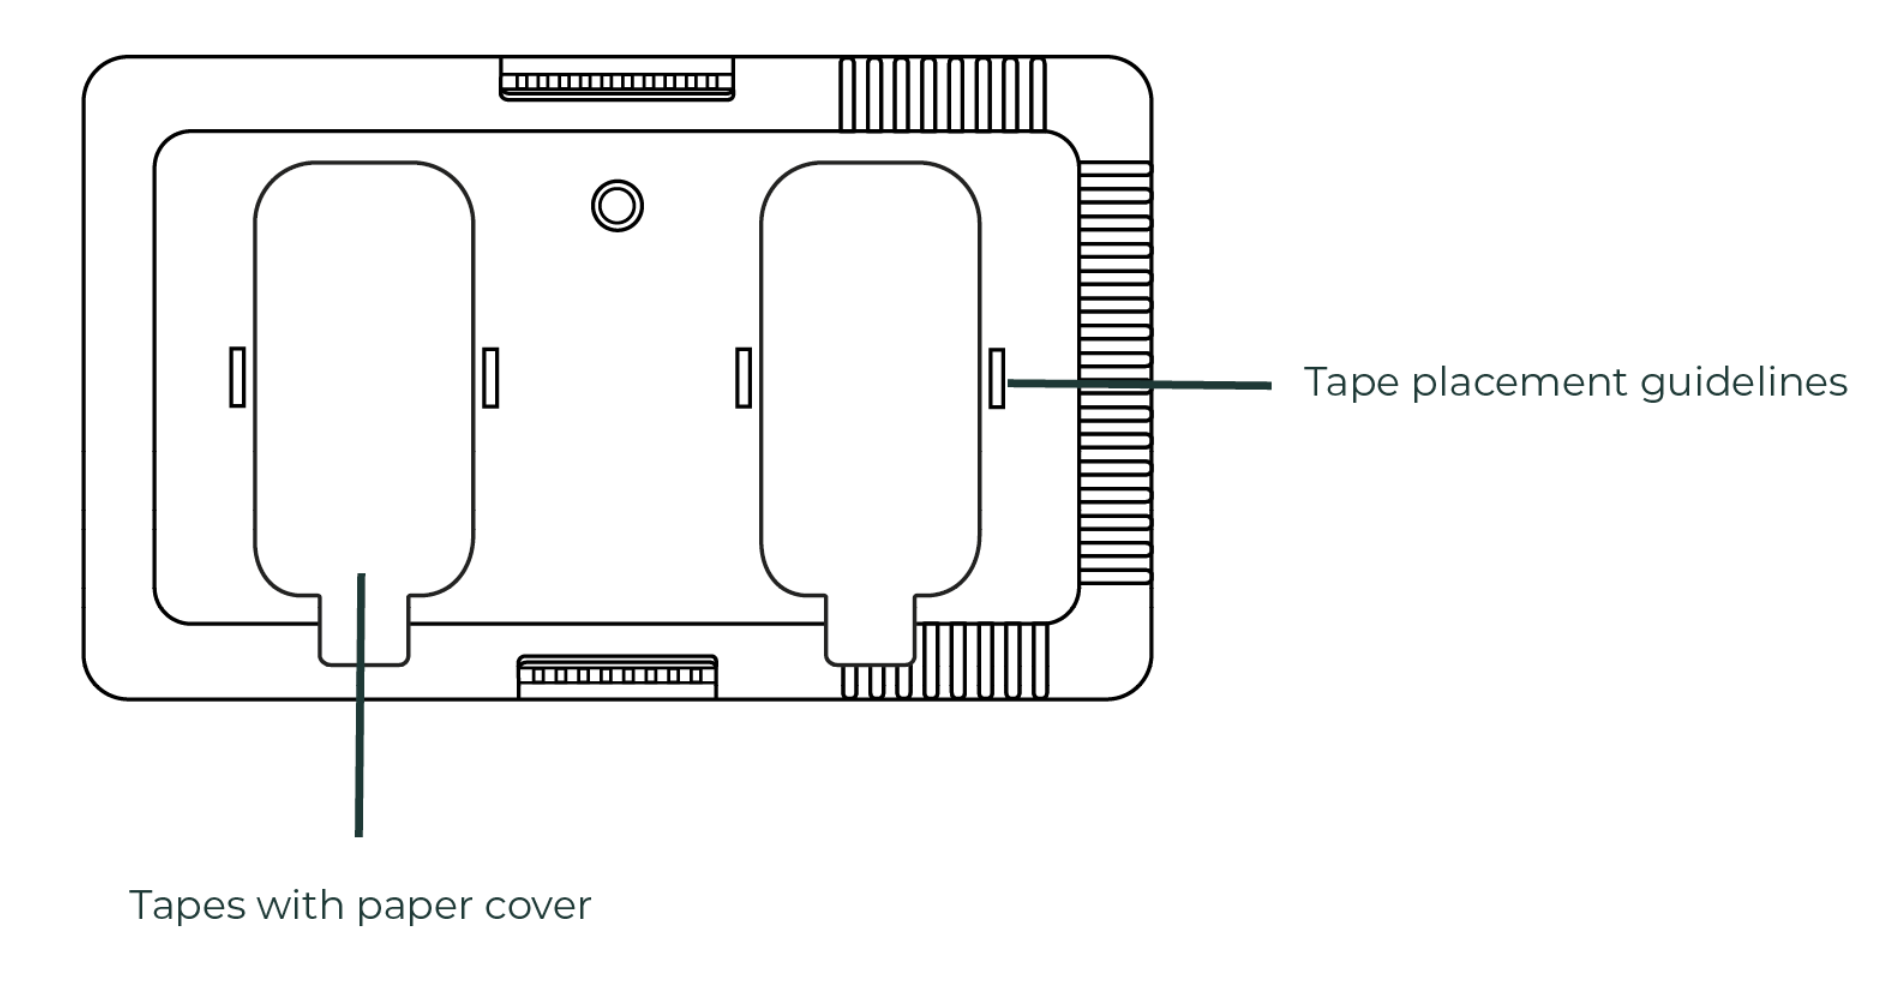
Attach the sensor to its place by pushing it firmly against the surface for a minimum of 5 seconds.
Installation method 2
Installing Thingsee AIR with a screw
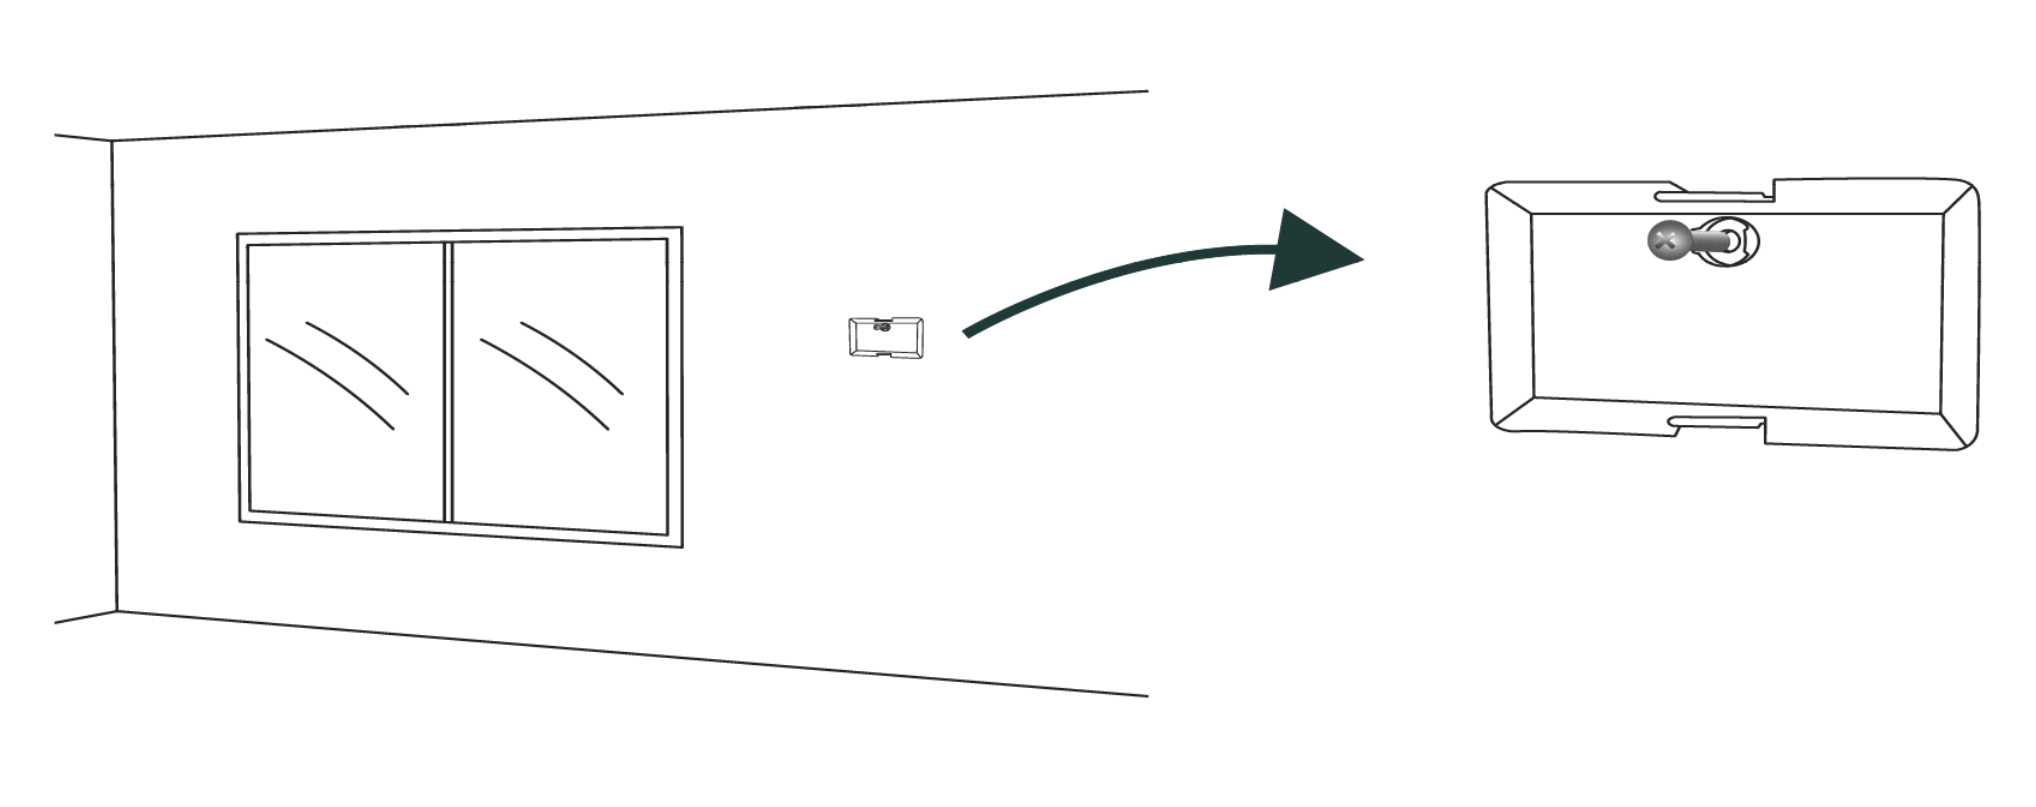
Take the B-cover and place it on the wall on the decided location. Screw the B-cover to the wall (use anchor with concrete wall or gypsum board).
